

How to Prepare a Wall for Tiling (Step-by-Step + Top Tips)
| TL;DR: How to Prepare a Wall for Tiling Surface Condition: Ensure the wall is clean, dry, plumb, and strong enough to support the combined weight of your chosen tiles and adhesive. Preparation Steps: Remove all old fittings, repair structural damage to plasterboard, and use an industry-compliant synthetic primer. Wet Area Protection: Always install a dedicated waterproofing backing or tanking system in wet zones to secure the tiles safely. |
Preparing your walls for tiling is simple and hassle-free with our no-nonsense guide at the ready. For DIYers looking to take on a tiling project, the right prep will make all the difference for a flawless finish that avoids structural failures, moisture damage or re-dos that could break the budget.
The internet is flooded with contradictory advice. Should you skim the wall first? Do you need a tanking kit? Can you tile over existing tiles? This guide cuts through the noise by walking you through exactly how to prepare a wall for tiling, ensuring your beautiful new ceramic or porcelain tiles stay securely in place where they belong.
Jump to:
Essential Tools for DIY Wall Tiling Prep
Step-by-Step: How to Prepare a Wall for Tiling
Surface-Specific Preparation Tactics
Frequently Asked Questions (FAQs)
Essential Tools for DIY Wall Tiling Prep
Before you begin, make sure you have all of your equipment to hand. Having everything on hand stops you from rushing and making mistakes.
Tools:
- Spirit level (to accurately check if the wall is plumb)
- Utility knife and scraper (for surface clearing)
- Medium to coarse sandpaper (for mechanical keying)
- Paint roller and paintbrush (for priming)
Materials:
- Appropriate wall primer (never use standard PVA)
- Ready-mixed adhesive (best suited for smaller ceramic tiles)
- Powdered adhesive (essential for large-format porcelain)
- Waterproofing/tanking membrane (for showers and wet rooms)
- Tile backer boards (to level masonry or secure heavy tiles)
According to professional tradesmen from Fantastic Tilers, less experienced DIY enthusiasts can use the ready-mix type of adhesive for light projects, but a professional tiler will always choose a cement-based powdered solution. Powdered solutions cure chemically to provide a drastically stronger bond that holds much heavier tiles securely without slipping.
Read more: Tiling Tools: Your DIY Tiling Tools & Equipment Checklist
Step-by-Step: How to Prepare a Wall for Tiling
Preparing a wall for tiling is a five-step process: clearing debris, checking for plumb, repairing damage, applying the right primer, and waterproofing wet areas.
1. Clear the Wall Before Tiling
To properly stick, tile adhesive needs to be applied to a completely clean surface.
- Strip hardware: Remove any old fittings, screws, or wall plugs.
- Remove wallpaper: Never tile over wallpaper. Use a warm, wet rag or a steamer to loosen the paper, then scrape it away completely.
- Degrease: Clean away hidden dirt and kitchen grease with sugar soap or a specialised degreaser to strip oily residues.
2. Check the Wall for Plumb (Flatness)
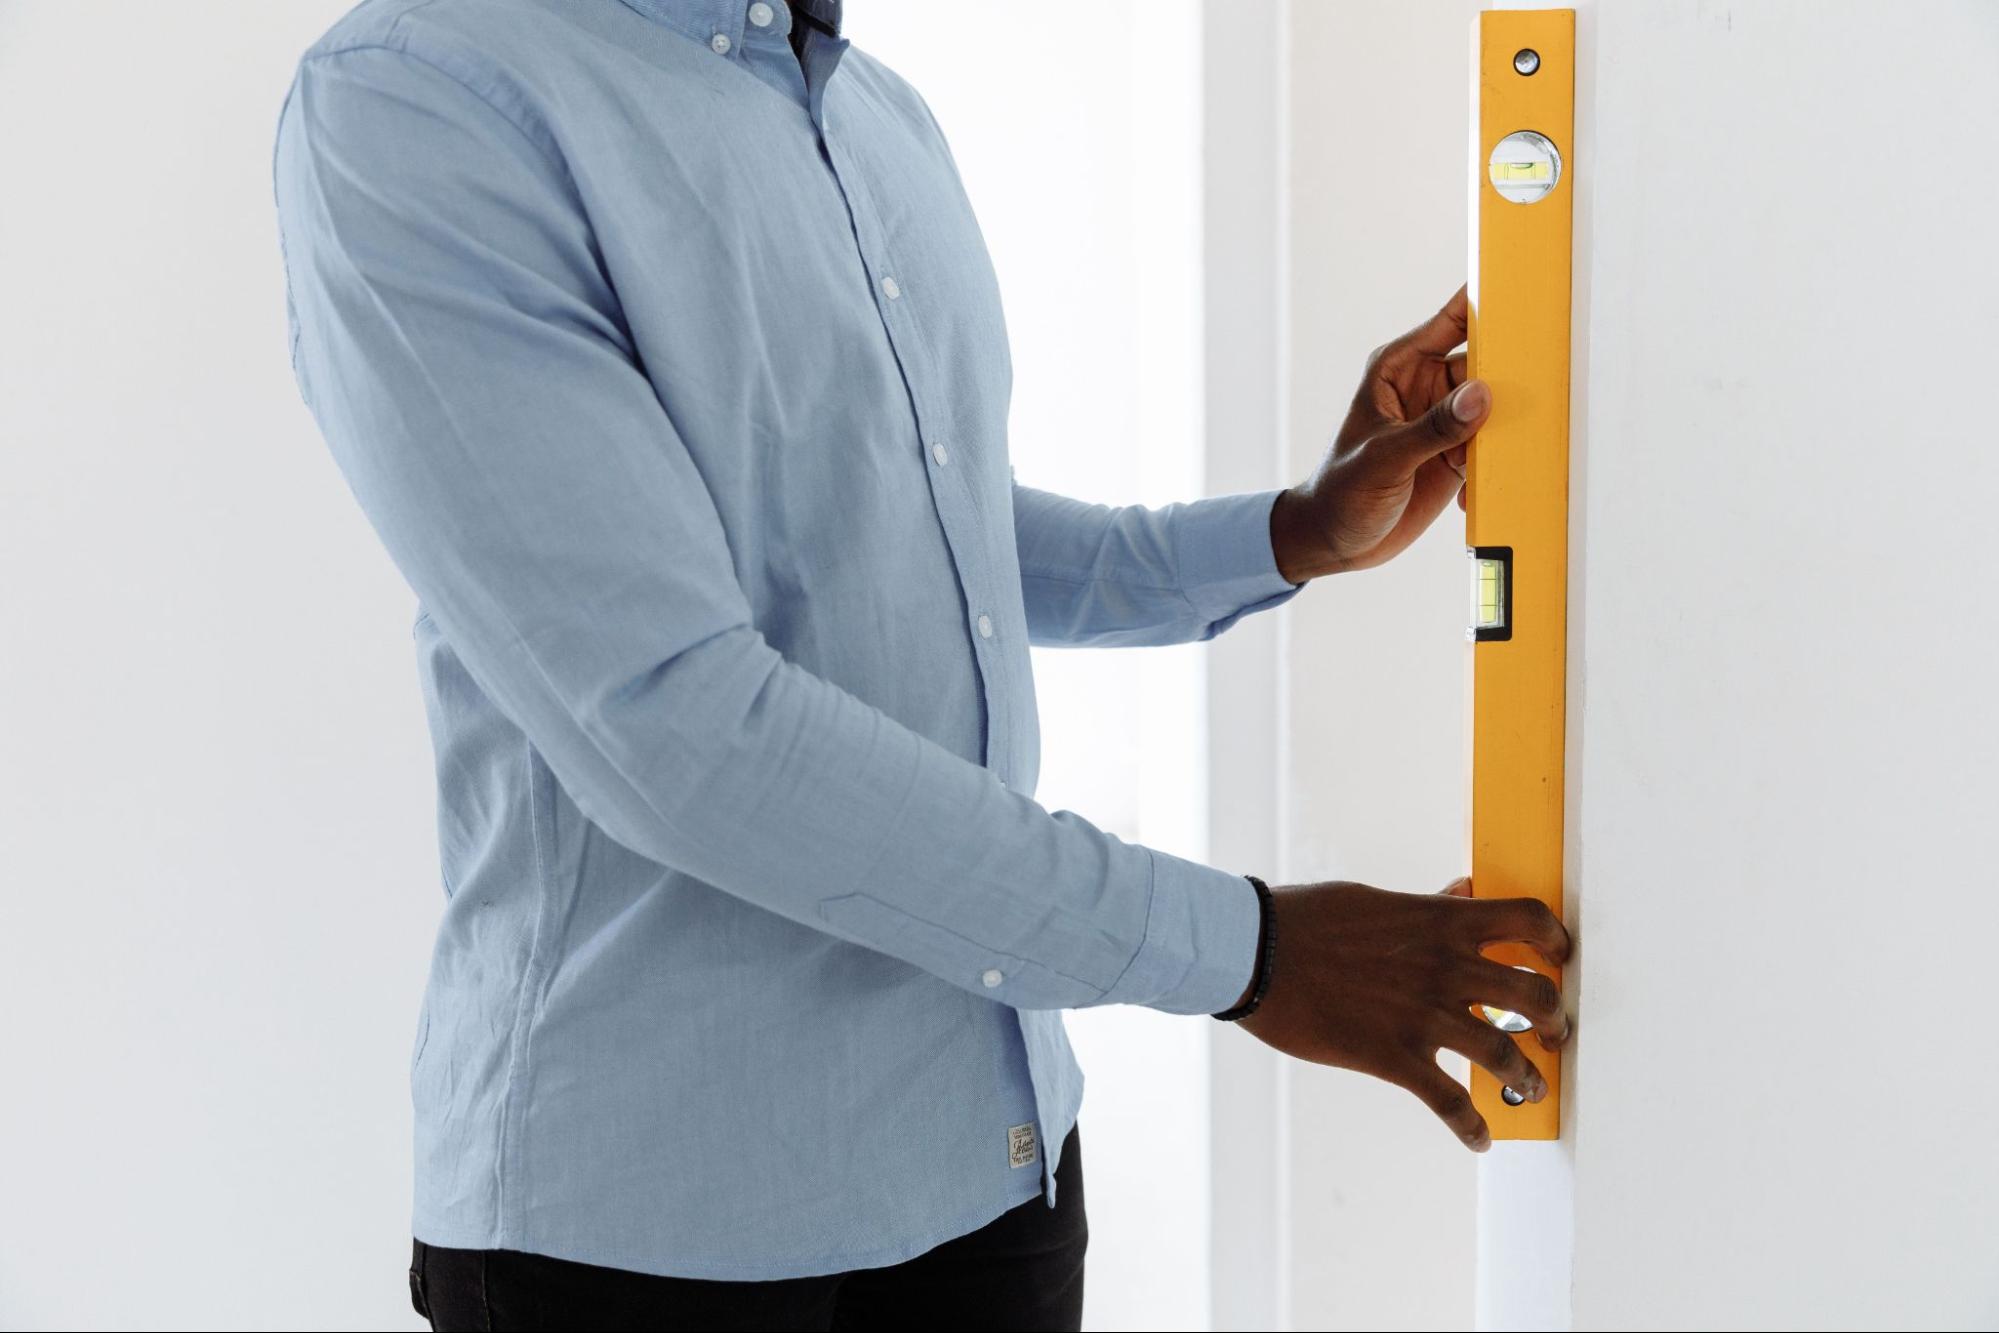
An easy way to spot irregularities is by placing a long spirit level flat against the wall and sliding it across the surface to expose deep bumps or dips.
- Workable limits: Anything between 3mm and 6mm is workable, but variations beyond that will cause major alignment issues.
- Avoid thick adhesive: Do not try to compensate for a wildly uneven wall by applying extra-thick layers of adhesive. Over-thick adhesive slumps, shrinks, and loosens its grip down the line.
- The solution: If the wall is severely unplumb, install flat tile backer boards directly over the substrate.
3. Repair, Patch, and Level Damage
Your wall must be structurally solid before it takes the weight of new tiling.
- Fill gaps: Pack any deep cracks or localised holes with a suitable, non-shrinking wall filler.
- Fix plaster: If you locate patches of loose or “blown” plaster, they must be knocked out completely and repaired.
- Sand down: Once your filler is dry, sand the entire wall lightly to provide a textured surface for the adhesive to grab.
4. Apply a Surface-Specific Primer
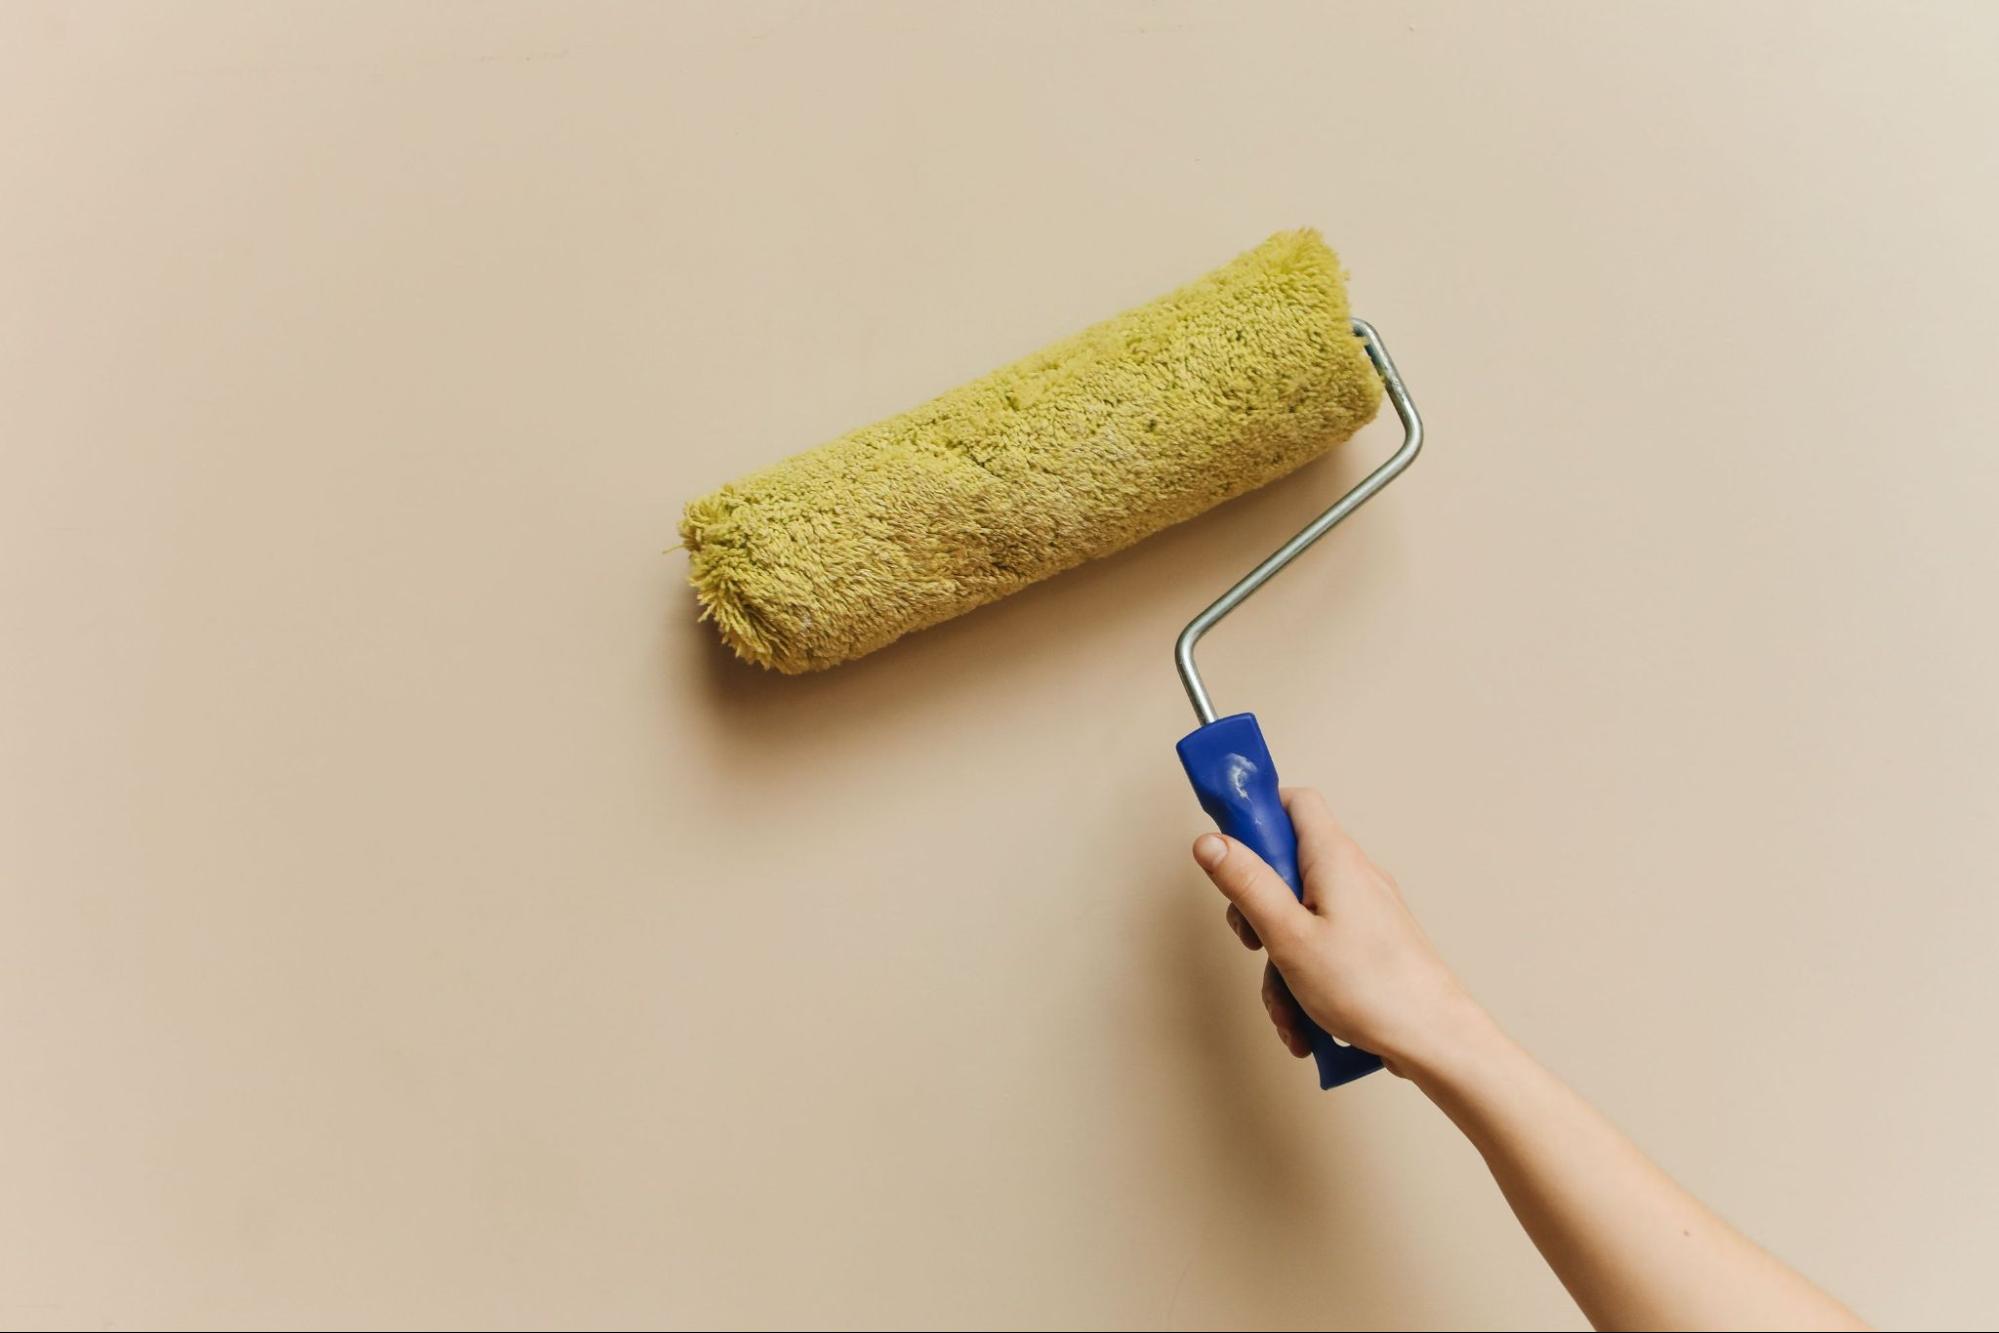
Priming seals the substrate, preventing porous surfaces (like fresh plaster) from rapidly sucking the moisture out of your adhesive before it cures correctly.
- British Standards warning: In accordance with BS 5385, never use standard PVA as a tiling primer. PVA dissolves and reactivates when it meets water-based tile adhesives, creating a layer of film that causes the tiles to fall off the wall.
- Custom application: Different surfaces require specific acrylic or SBR products and varying levels of dilution. Always review the chart below to pick your formula.
5. Apply Waterproofing (Tanking) in Wet Areas
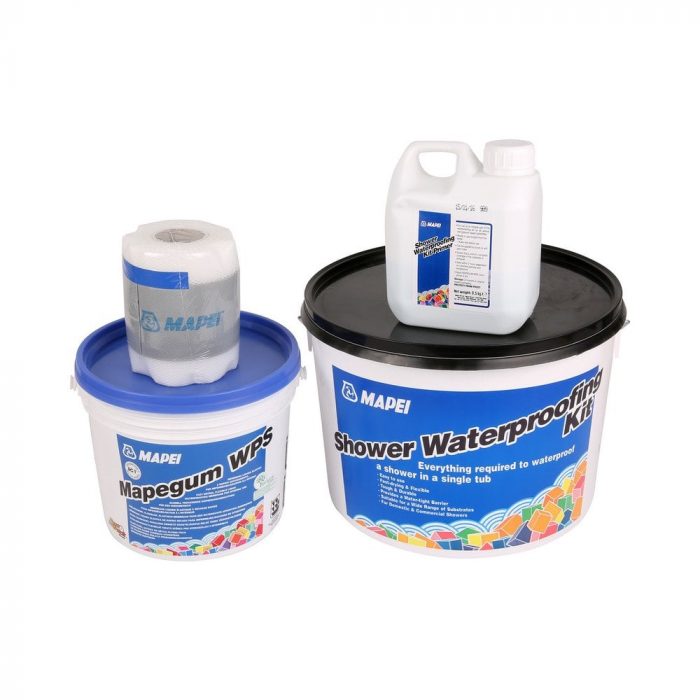
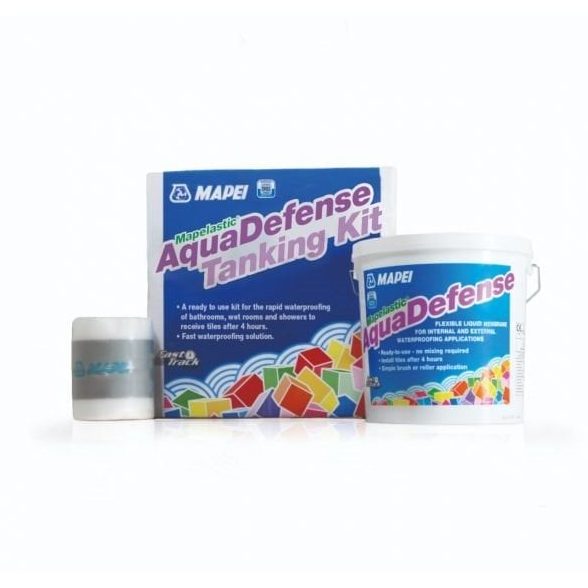
If you are preparing a shower wall or working in a wet room, you must install a liquid waterproofing membrane or a structured tanking kit.
- The moisture myth: Standard plasterboard and moisture-resistant boards are water-resilient, but they are not 100% waterproof.
- Protect the house: An advanced kit like the Mapei Mapelastic Aquadefence Tanking Kit stops water from bypassing grout lines and rotting the structural timbers of your home.
Choosing the Right Primer for Your Wall
There is a lot of conflicting information about which primer to choose, so always check the individual product recommendations. Depending on your substrate, you may need a ready-mixed solution or a specific dilution ratio. Here is a quick breakdown of some top-tier options to help you choose the right formula for your project:
| Product | Best For / Suitability | Dilution & Application | Key Takeaway |
|---|---|---|---|
| Acrylic Primer (e.g., Tile Bank Acrylic) | Plastered walls, timber, and highly porous backgrounds. | Dilute 1:3 with water for dusty or porous walls. Apply two neat coats if sealing a highly absorbent zone. | Industry Standard. Penetrates the surface to seal porosity and maximise adhesion without re-activating. |
| Tile Bank Tilers Primer (by Tilers Ply) | Fibre-cement backer boards, concrete walls, and high-humidity rooms. | Dilute 1:3 with water. Apply 2 distinct coats when prepping wet rooms or walk-in showers. | Highly flexible, latex-based SBR primer. Drastically improves moisture and water resistance. |
| Mapei Primer G | Treating gypsum-based surfaces or anhydrous screeds before installing ceramic tiles. | Apply neat (undiluted) on pure gypsum substrates. Dilute 1:1 with clean water for cementitious surfaces. | Brilliant for reducing rapid surface porosity, but note that it is strictly a bonding agent, not a waterproofing layer. |
| Mapei Eco Prim Grip Plus | Non-absorbent, smooth, or tricky surfaces (e.g., existing glazed tiles, terrazzo, smooth resins). | Ready-to-use straight from the tub. Thoroughly stir and apply with a roller; do not dilute. | Almost zero odour. Leaves a high-grit, textured bonding key across smooth substrates for indoor and outdoor installations. |
Always check the specific technical data sheets and packaging of your chosen products before mixing, as ratios and surface suitabilities will vary depending on your project.
Surface-Specific Prep for Wall Tiles
Different substrates require completely different approaches. Here is exactly what you need to know for the most common wall types.
How to Prepare a Plasterboard Wall for Tiling
Plasterboard is fantastic for creating a flat surface, but it has strict structural weight limits that you must follow to prevent the wall from pulling forward:
- Bare plasterboard: Can hold roughly 32kg per square metre (this must include the combined weight of your tile, adhesive, and grout).
- Skimmed plasterboard: If your plasterboard has been skimmed with a thin finishing plaster, the weight limit drops significantly to around 20kg per square metre.
- Fresh plaster: Needs up to one full month (28 days) to cure completely before it can safely accept the chemical moisture of tiling adhesive.
- The fix for heavy tiles: If you are hanging large, heavy porcelain or stone tiles, replace or overlay the area with dedicated moisture-resistant Tile Bank Tilers Ply Boards, which can hold upwards of 40kg per square metre.
How to Prepare a Painted Wall for Tiling
In accordance with the advice set out in British Standard BS 5385: Part 1, it is not recommended to tile onto a painted surface. Emulsion paint is water-based and can reactivate when it comes into contact with moist tile adhesive, completely failing the bond. For these reasons, best practice is to remove the paint entirely, particularly when using large-format tiles.
If you examine the surface and decide the painted layer is structurally stable enough to proceed, maximise the mechanical bond by following these steps:
- Strip away any flaking, peeling, or hollow paint using a sharp scraper.
- Use a utility knife to score a deep, heavy crisscross pattern into the surface, reaching the underlying plaster to form a physical lock.
- Smooth down high spots with coarse sandpaper to strip away the glossy sheen of the paint.
- Clean the wall thoroughly to remove all micro-dust and grease.
- Apply an advanced priming agent before applying adhesive.
How to Prepare a Plywood Surface for Tiling
While marine plywood is suitable for strengthening floor tiling installations, it is not practical or recommended for walls. Plywood is manufactured from compressed wood layers and natural oils that expand and contract significantly when exposed to thermal fluctuations. In a bathroom or kitchen with shifting temperatures, this movement will cause your wall tiles and grout to crack. Use cement backer boards instead.
How to Prepare a Wallpapered Wall for Tiling
Tiles offer far more longevity and practicality than wallpaper, and you must remove wallpaper completely before tiling.
- The steam risk: Using an electric wallpaper steamer is fast, but if you are treating drywall or engineered timber walls, the high heat and concentrated moisture can warp and damage the underlying core beyond simple repair.
- The safer method: Wipe the wallpaper down thoroughly using a warm, wet rag. This softens the wallpaper adhesive gently without penetrating deep into the substrate. Repeat this procedure a few times, then use a wide scraper to peel everything away with minimal effort.
- Final step: Ensure the exposed wall is 100% clean and dry before applying your primer.
Frequently Asked Questions (FAQs)
Do I need to use a primer before tiling?
Yes, using an approved synthetic primer is highly recommended for almost all porous surfaces, such as plaster, plasterboard, and wood. Primer stops the wall from absorbing the moisture from your tile adhesive too quickly, which allows the adhesive to cure properly and form a secure bond. Never use standard PVA.
How much weight can plasterboard hold?
Unskimmed (bare) plasterboard can safely hold up to 32kg per square metre. However, if the plasterboard has been skimmed with plaster, the weight limit drops to 20kg per square metre. If you are installing heavy, large-format porcelain or natural stone tiles, you should use tile backer boards instead, as they can hold significantly more weight per square metre.
Do It Right the First Time
Proper wall preparation might not be the most exciting part of your renovation, but it is the most important. By taking the time to assess your wall, repair any damage, apply the correct primer, and adhere to safe weight limits, you are laying the foundation for a long-lasting tile installation. Choose the right materials, follow the steps, and you’ll achieve that factory-direct luxury look without the stress.

Comments are closed here.