


Modern Metro Tile Patterns & Designs: Find Your Perfect Style
Summary:
- What are Metro Tiles? Traditional metro tiles measure 100mm x 200mm, though modern variations range from small 75mm x 150mm to sleek 75mm x 300mm profiles.
- Materials: Choose lightweight ceramic for easy DIY walls and porcelain for wet room walls.
- Metro Tile Layouts: Brick bond naturally hides uneven walls, while vertical stacking visually elongates the walls to make low ceilings feel significantly taller.
- Precision Grouting Rules: Install using tight 2mm or 3mm spacers for clean lines. Always calculate a 10% waste buffer (15% for complex herringbone patterns).
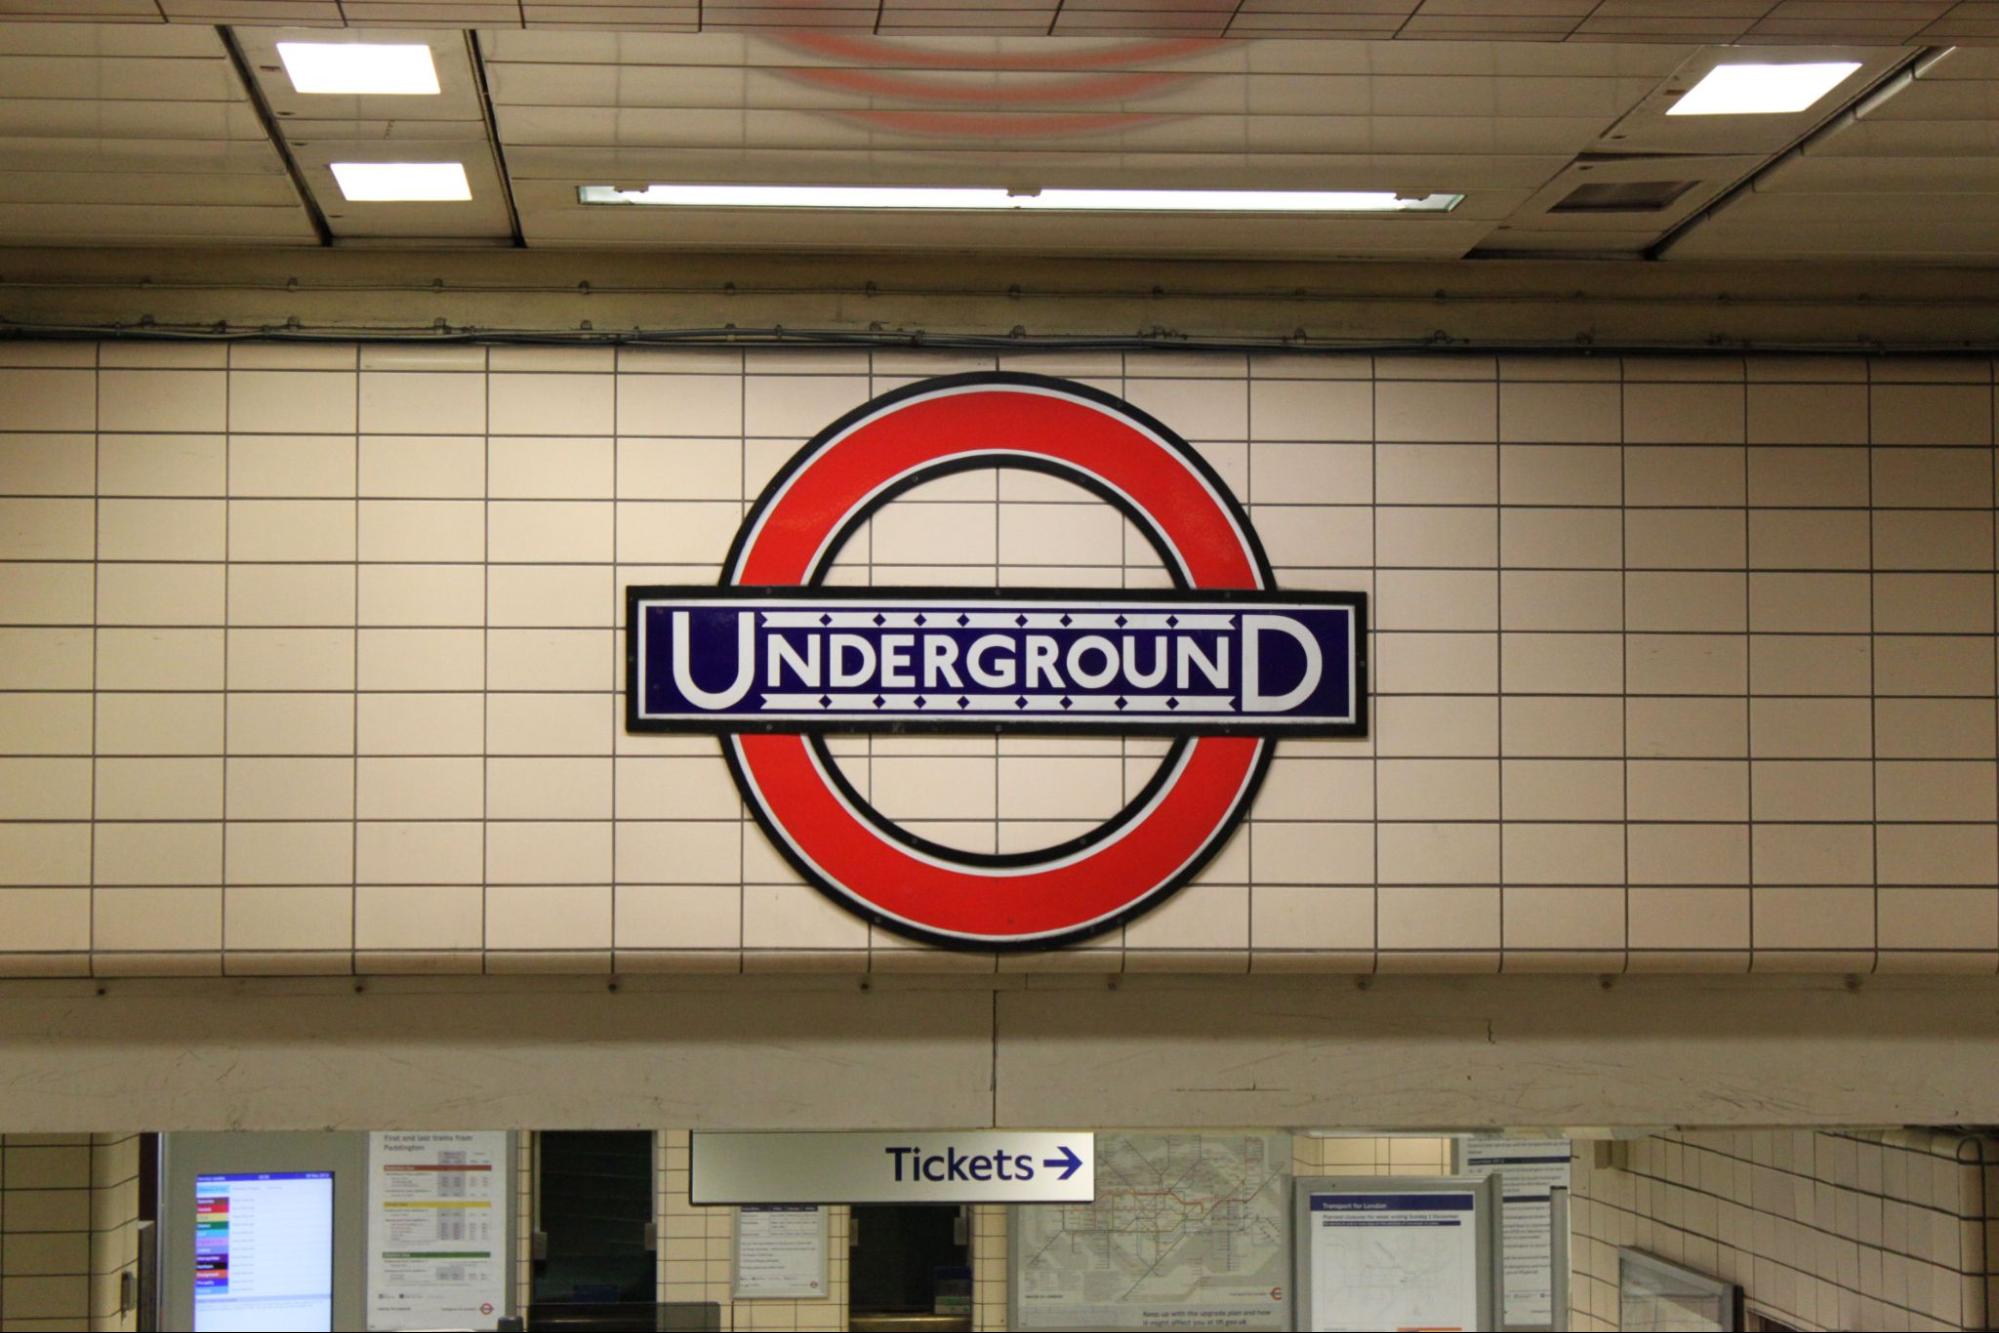
Whether you’re planning a kitchen refresh or a full bathroom renovation, metro tiles offer a versatile, timeless aesthetic that works in almost any space. Originally inspired by the iconic, bustling underground stations of the early 1900s, these rectangular, brick-shaped tiles have evolved into a staple of modern interior design.
From their origins as a functional subway feature to their current status as a stylish home essential, metro tiles provide endless creative possibilities. In this guide, we’ll explore how to navigate the broad spectrum of colours, finishes, and layout patterns available and provide the expert installation tips you need to achieve a flawless, professional finish that elevates your home.
Jump to:
The History and Appeal of Metro Tiles
Top Metro Tile Patterns & Layouts
Choosing Your Metro Tile Material: Ceramic or Porcelain
Selecting the Perfect Finish: Gloss vs. Matt
Metro Tile Colour Ideas & Inspiration
Tile Specialist Insights: Installation & Cutting
Metro Tile Frequently Asked Questions
The History and Appeal of Metro Tiles
Metro tiles are rectangular, brick-shaped wall tiles (traditionally 100mm x 200mm) featuring flat or bevelled edges. The instantly recognisable slim brick shape of metro tiles was famously featured on the walls of London and New York’s iconic underground stations in the early 1900s. While many of the stations have since undergone design overhauls, the beauty of the subway tiles is still evident today, and they have transitioned from an icon of the underground into a modern interior design choice in many homes.
Because they are available in a broad spectrum of colours and finishes, metro tiles easily pair with popular design themes:
- Contemporary Colour: Bold shades like deep blue or emerald green act as vibrant statement walls.
- Scandi Chic: Clean, glossy white tiles paired with wooden bathroom cabinets create a minimalist, airy haven.
- Modern Industrial: Sleek metallic or dark matt tiles perfectly complement natural materials and geometric accessories.
Top Metro Tile Patterns & Layouts
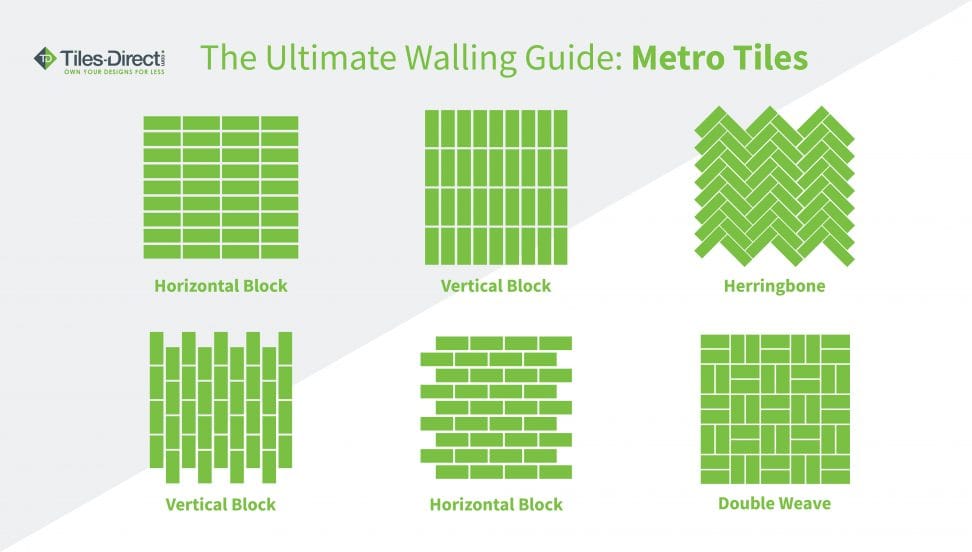
The layout pattern of metro tiles determines the visual flow of a room and can change how high or wide a wall appears. Choosing a pattern should be a deliberate design decision. Linear vertical stacks make low ceilings seem higher, while interlocking diagonal patterns like herringbone create a more eye-catching architectural feature.
Classic Brick Bond
This traditional 50% offset staggered layout aligns tile centres directly over the joints of the row below. It remains incredibly popular because it naturally disguises slightly unlevel walls and goes well with any space.
Vertical Stack (Linear Design)
For a cutting-edge contemporary look, the vertical stack is the way to go. The clean, straight lines running throughout the grid formation deliver a chic, modern finish. Laying tiles vertically draws the eye upward, making ceilings feel higher and small spaces feel far less claustrophobic.
Heritage Herringbone
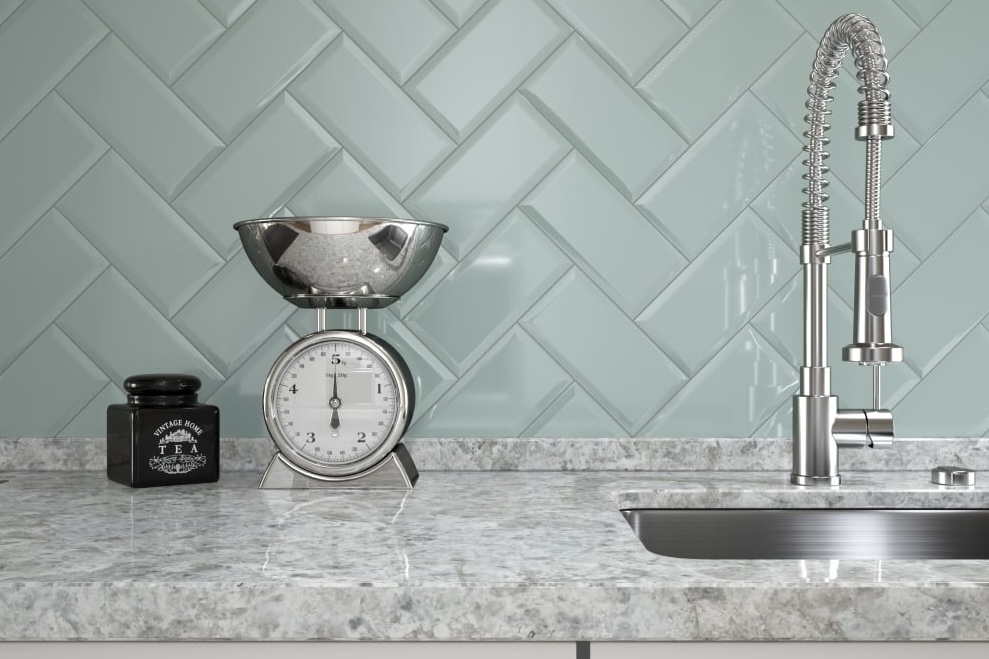
An elegant, high-end pattern where tiles are aligned at a 90-degree angle to create an interlocking arrow or “V” layout. This pattern turns a standard wall into a dramatic design feature. Keep in mind that herringbone requires a 15% waste allowance to cover complex diagonal cuts.
Basket Weave
Created by alternating vertical and horizontal pairs of tiles (e.g., two horizontal stacked next to two vertical). This creates a unique, woven appearance that works beautifully for living room accent walls and feature alcoves.
Choosing Your Metro Tile Material: Ceramic or Porcelain
Choosing the right metro tile material depends on your project’s moisture exposure, budget, and traffic levels. While affordable ceramic is ideal for simple DIY kitchen splashbacks, heavy-duty porcelain is better suited for wet rooms.
| Material Type | Best Application | Technical Benefits |
|---|---|---|
| Ceramic | Kitchen splashbacks and bathroom walls | Highly affordable, lightweight, and very easy to cut for DIYers. |
| Porcelain | High-traffic areas, floors, and wet rooms | Dense, water-resistant, and boasts high PEI ratings (durability), making it perfect for heavy use. |
Metro Tile Flat vs Bevelled Finishes
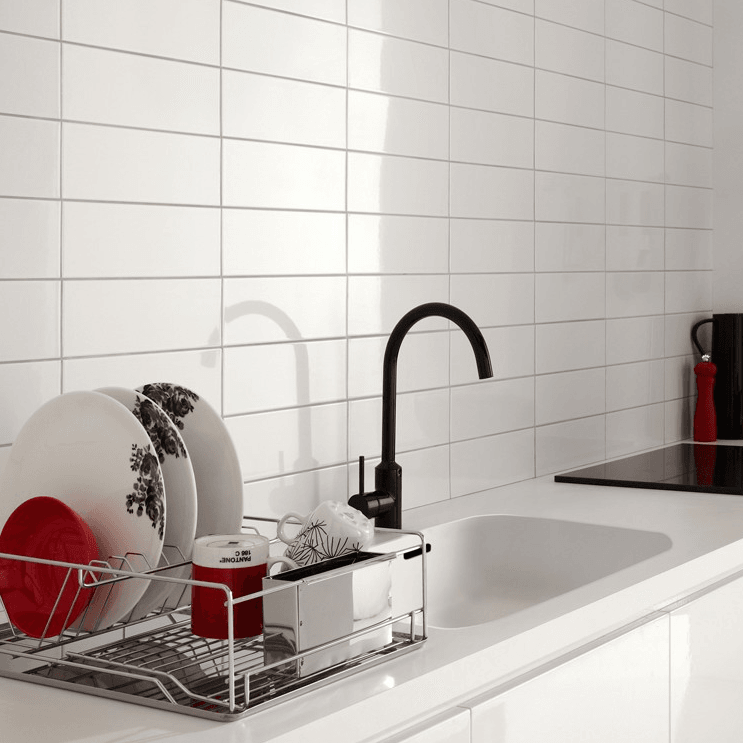
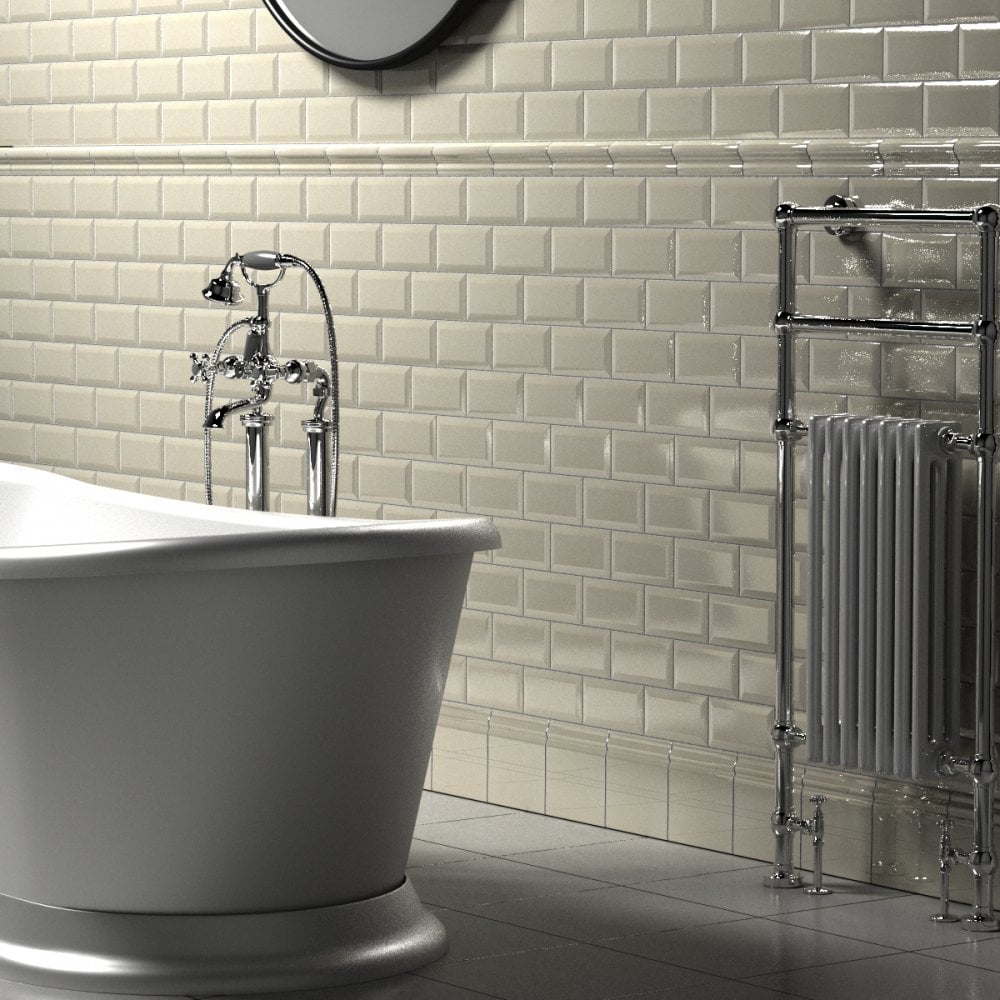
The edge profile of a metro tile directly determines how light bounces across a room and how easy the wall is to maintain. Flat metro tiles deliver clean, contemporary lines that highlight colour palettes, whereas bevelled tiles have sloped edges that scatter ambient light to create depth, shadows, and texture.
- Flat Metro Tiles: Powerful, simple, and incredibly easy to clean. Flat tiles provide a modern statement that allows your colour palette and grout choices to take centre stage.
- Bevelled Metro Tiles: The sloped edges bounce natural light around the room. Bevelled edges add incredible texture and depth, maximising the impression of space in smaller, dainty rooms.
Flat
Bevelled
Selecting the Perfect Metro Tile Finish: Gloss vs. Matt
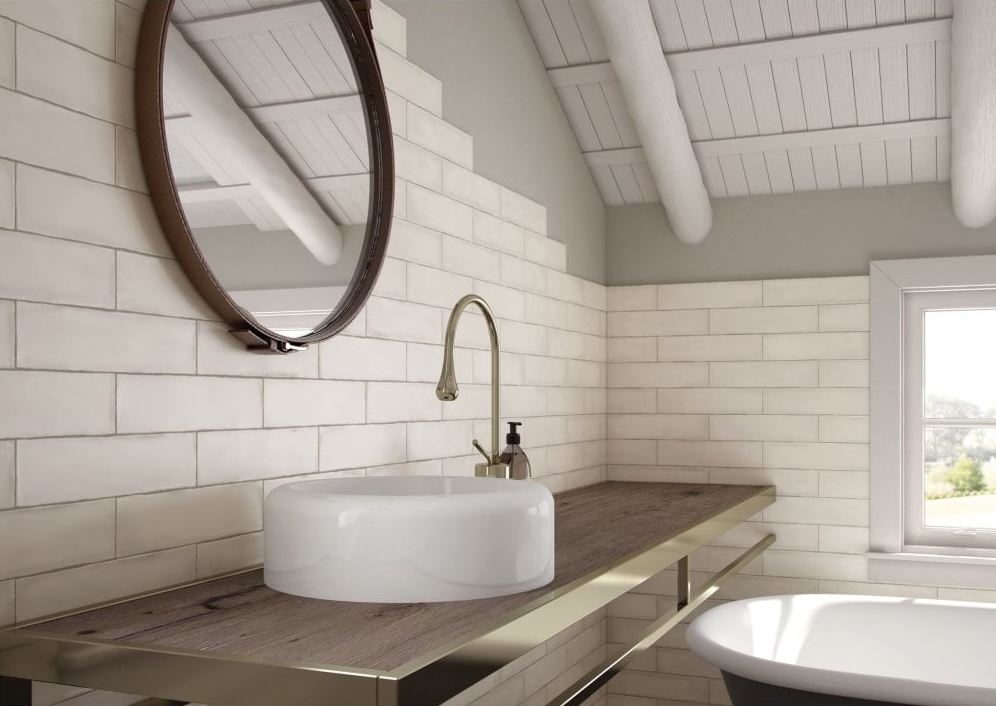
Choosing between gloss and matt metro tiles alters the visual footprint of a room and dictates how visible splashes or smudges will be. High-gloss glazes reflect maximum ambient light to expand small, dark spaces, while matt finishes absorb light for a modern look that easily hides everyday water spots.
| Tile Profile & Glaze | Best Design Theme | Visual Effect | Practical Maintenance |
| Gloss Finish | Compact bathrooms, low-light spaces | Bounces light around the room, making tight areas feel larger. | Shows water spots, grease splatters, and soap film more readily. |
| Matt Finish | High-use family baths, modern utility rooms | Offers a soft, non-reflective, contemporary aesthetic. | Excellent at hiding watermarks, soap scum, and everyday dust. |
Matt
Gloss
Metro Tile Colour Ideas & Inspiration
Selecting your metro tile colour palette sets the energy and mood of your home. While classic monochromatic tones offer timeless simplicity, exploring vibrant shades from the colour wheel can transform a standard room into a bold, custom-designed space.
- Cool Monochrome: Stick to crisp whites, pale creams, or soft greys to create a spacious, bright, and universally appealing backdrop.
- Rich Earth Tones: Introduce warmth and visual depth by opting for deep forest green, warm terracotta, or rich cobalt blue.
- Contrasting Accents: Match light neutral tiles with dark contrasting grout to immediately turn a simple tiled wall into an eye-catching geometric feature.
If you are exploring different palettes to suit your mood boards, you can read our comprehensive guide on Bathroom Colour Ideas: Which Colour Scheme is Right For You?
Tile Specialist Insights: Installation & Cutting
Achieving a professional metro tile installation requires careful spacing calibration and specialised cutting techniques for complex tile profiles. Standard layouts rely on thin 2mm to 3mm spacing lines to match the small tile scale, while raised bevels require specialised wet-cutting tools to prevent surface chipping.
Here is exactly what you need to know to get it right.
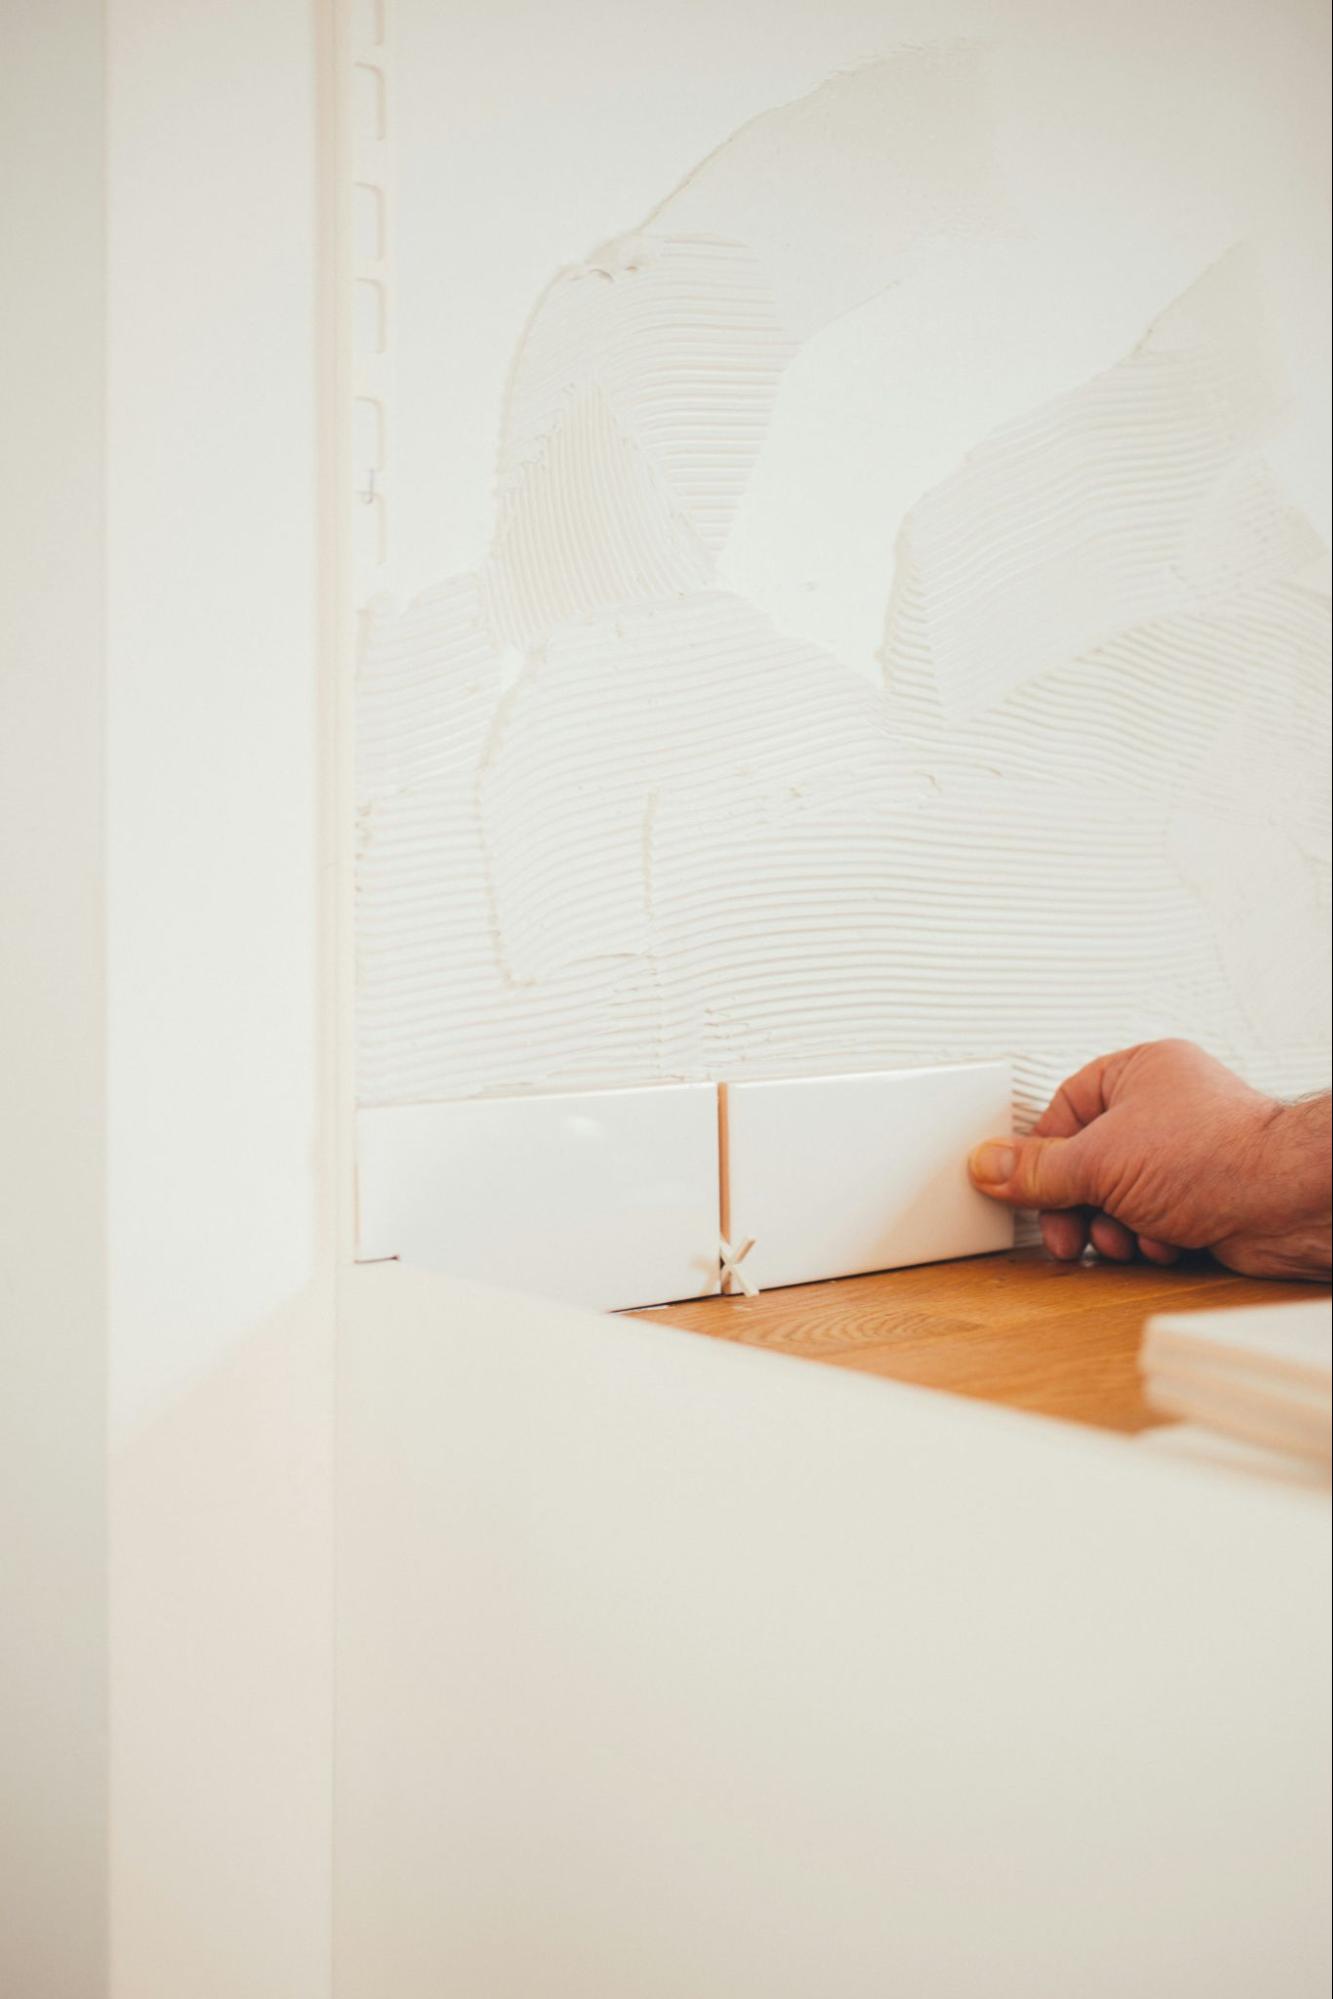
- What size spacers for metro tiles? We highly recommend using 2mm or 3mm tile spacers. This ensures a tight, modern grout line that won’t overwhelm the delicate size of the tile.
- How to cut bevelled metro tiles: Use a wet tile saw with a diamond blade. Because of the raised edge, a manual snap cutter can sometimes cause bevelled tiles to chip unpredictably.
- Tiling window sills and corners: When tackling a window sill or external corner, you can use metal or PVC tile trims to hide raw edges. Alternatively, for a premium look, mitre the edges of the tiles at a 45-degree angle so they meet perfectly at the corner.
- Herringbone Corner Advice: When cutting tiles for a herringbone corner, create a precise cardboard template of the corner angle first. Trace it onto your tile and cut slowly with a wet saw to avoid wasting expensive materials. Before you begin, ensure your surfaces are primed and level.
“If you are working with bevelled tiles, put your manual snap cutter away. Because of the sloped edge, a snap cutter distributes pressure unevenly, causing the tile to chip unpredictably. Always use a wet tile saw with a continuous diamond blade to get clean, crisp edges.”
Before you begin, ensure your surfaces are primed and level. Read our complete guide on How to Prepare a Wall for Tiling (Step-by-Step + Top Tips) – to guarantee a flawless foundation.
How to Grout Metro Tiles
Proper grouting seals metro tiles against moisture, protects the joints, and highlights the geometric lines of your layout. Because metro tiles are small, there will be a higher number of grout lines per square meter, meaning correct adhesive curing, float angles, and cleaning techniques are essential for a long-lasting finish.
- Cure Time: Always allow your tile adhesive a full 24 hours to dry and cure completely before applying any grout.
- Mixing: Mix your grout thoroughly until it forms a smooth, lump-free paste with a peanut butter consistency.
- Application: Using a rubber grout float held at a 45-degree angle, press the grout firmly into all gaps using diagonal strokes across the tile faces.
- Cleaning: Wipe away excess surface grout using a damp, well-wrung sponge, taking care not to drag the grout out from between the joints.
- Polishing: Leave the installation for approximately 30 minutes before buffing the tiles with a dry, lint-free microfiber cloth to clear away any residual grout haze.
Choosing the Best Grout Colour for White Metro Tiles:
- Coordinating (White Grout): Achieves a seamless, blended wall that makes spaces feel larger and cleaner.
- Contrasting (Dark Grey or Black Grout): Emphasises the edges, geometric layout, and texture of the tiles, offering a striking, industrial subway vibe.
For more advice on full bathroom renovations, explore our guide on DIY Bathroom Tiling: How To Tile A Bathroom Wall & Floor or shop our range of tile grouts.
Metro Tile Frequently Asked Questions
Are metro tiles dated?
Absolutely not. Metro tiles are a classic design staple that has remained popular for over a century. By updating the installation pattern (such as opting for a vertical stack instead of a brick bond) or experimenting with contrasting grout colours, they remain incredibly modern and highly sought-after.
What size are standard metro tiles?
The most traditional and common size for a standard metro tile is 100mm x 200mm. However, you can also find elongated, modern variations measuring 75mm x 300mm, or miniaturised versions for intricate detailing.
Do vertical tiles make a ceiling look higher?
Yes. Laying metro tiles in a vertical stack draws the eye upwards along the continuous vertical lines. This optical illusion makes walls feel taller and ceilings feel higher, making it an excellent design hack for small or low-ceilinged rooms.
How do you calculate how many metro tiles are needed?
Measure the width and height of your wall space in metres and multiply them together to find your total square meterage. Use our calculators on each product page to work out how many tiles you need easily.
We strongly advise adding an extra 10% to this final number to account for breakages, cuts, and pattern matching (add 15% if you are laying a complex herringbone pattern).
Start your Metro Tile Project Today
Metro tiles open up a world of interior possibilities, serving as an incredibly versatile choice for functional, fashionable walls. By understanding the distinct advantages of gloss versus matt finishes, playing with colour, and following expert installation advice, you can easily achieve a flawless, luxury aesthetic that stands the test of time – all while protecting your renovation budget.
Related
Metro Tiles: The Ultimate Kitchen Wall Tile

Comments are closed here.